

How To Repair Wood Damage In Exterior Stair
How to Repair Woods Rot on Your Outdoor Deck: A General Overview
Currently employed equally a physical therapist assistant specializing in elder rehabilitation and education/training.
Wood Rot: A common nemesis on most homes.
If you've owned a home for whatever length of time, more than likely you've experienced wood rot in some way. For u.s., it'south been our deck.
Built of cedar over 14 years agone, our deck has provided quite the challenge when it comes to woods rot repair. This hub will briefly overview my latest deck repair projection. Hopefully it will assist y'all too by keeping your deck condom and forest-rot free!
The Process:
The following pictures tell the story: lots of wood rot and lots of time spent repairing it. Here's a full general guideline for basic wood rot repair that can be modeled for most other wood rot issues.
Here'due south the order for tackling this projection:
- Carefully remove primary rotted woods. Remove merely what is necessary as you'll need as much solid wood every bit possible to reinforce. Examples of primary wood pieces tin be (not an exhausted list): Deck and stair treads, stair stringers, trim boards, window trim, siding, fascia, etc. Basically anything fabricated of wood exposed to elements or potential h2o damage.
- Remove additional wet and dry root with an advisable tool. Make certain ALL of the rot is removed. If there'southward not enough viable wood remaining, you'll have to replace the unabridged wood structure.
- Protect exposed wood with a suitable woods hardener and let to dry out.
- Fill void/crenel with an appropriate forest filler and allow to dry out.
- Sand and level to appropriate height and dimension.
- Replace rotted wood pieces and secure with appropriate exterior wood fasteners; in this case, stair treads are being replaced.
All in all, not a lengthy procedure, simply it does take time to do it properly to avoid futurity wood rot.
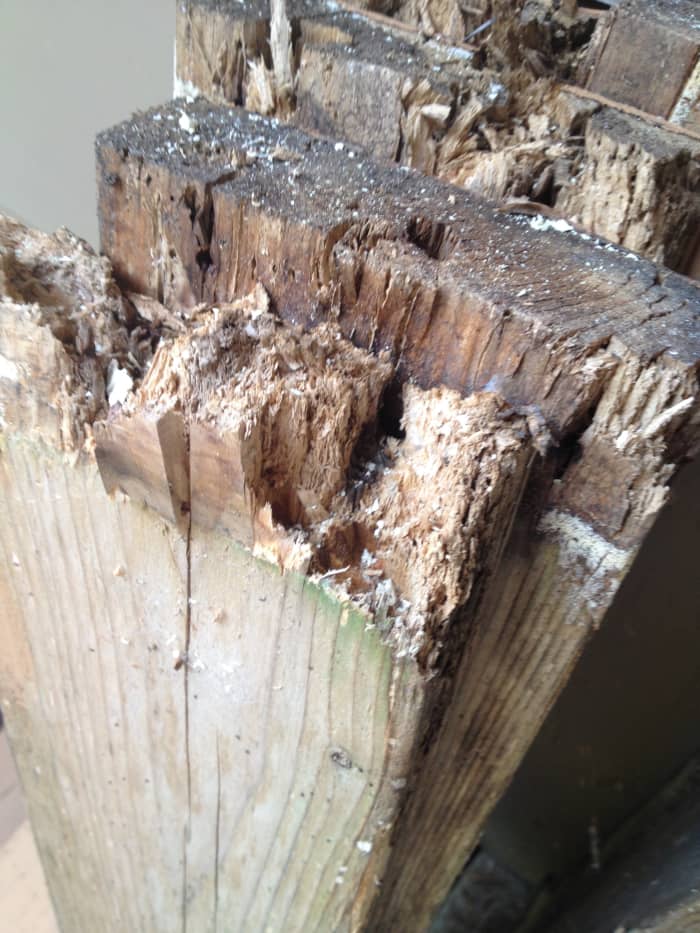
Ends of the cedar stair treads after removing from partially-rotted stringers. Non a safe stride to say the to the lowest degree!

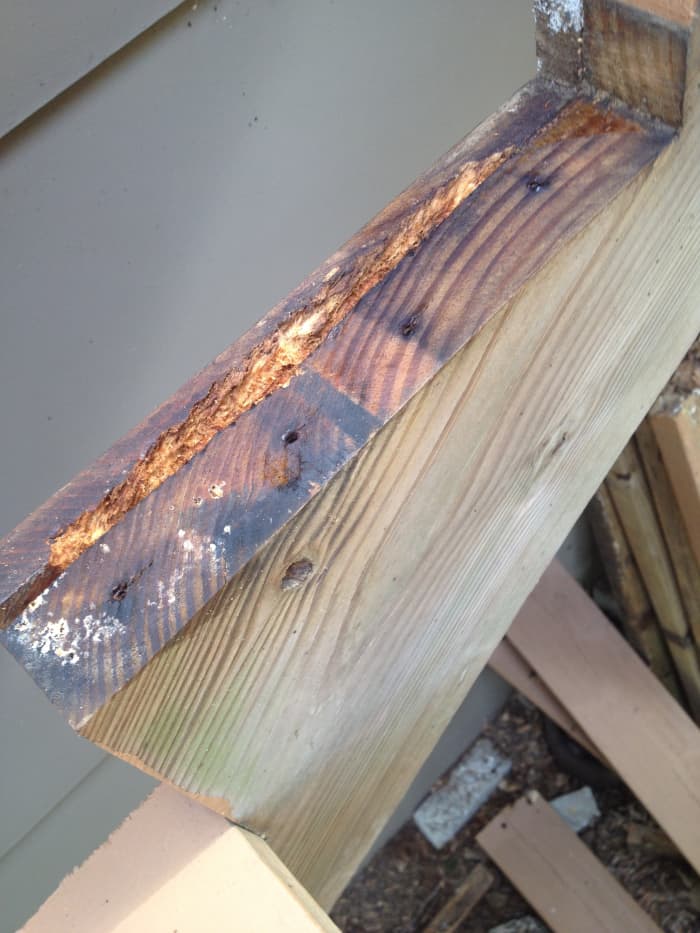
Cavity created after removing the rotted wood. I used a small, ice-pick-like tool to remove the rot. Make sure all the rot is gone, or you'll exist doing this once again afterwards.
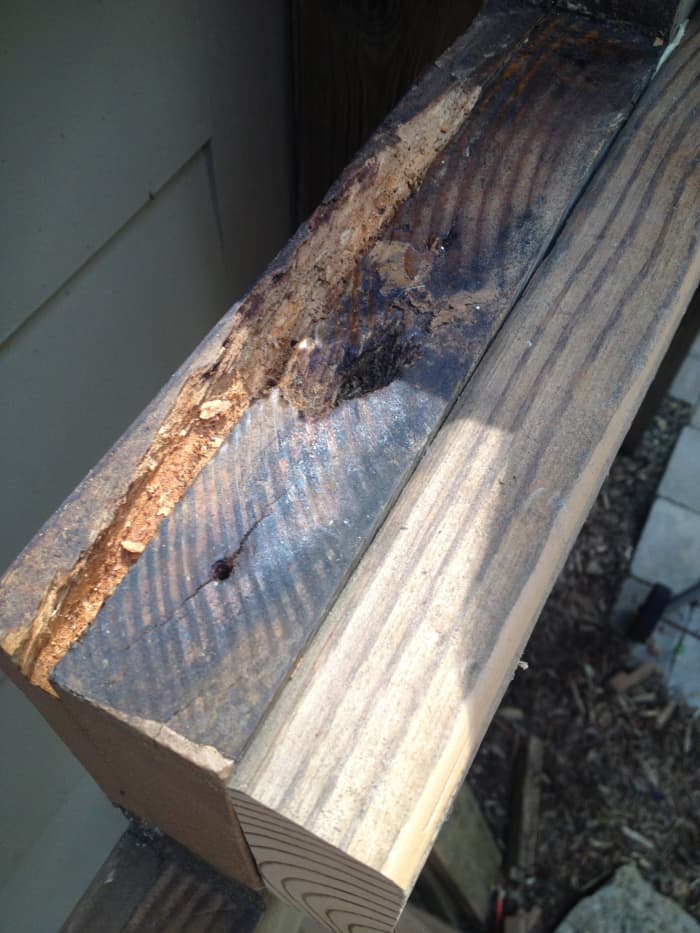
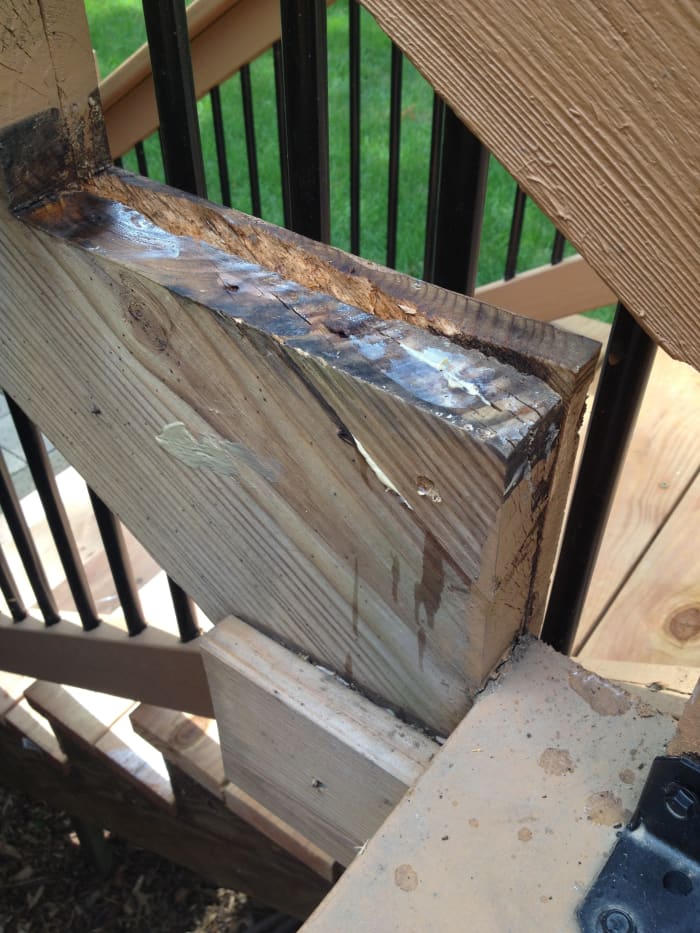
Another image of a partially rotted stringer and side by side brim board. Luckily, at that place was plenty solid woods remaining to fill up and attach additional back up.
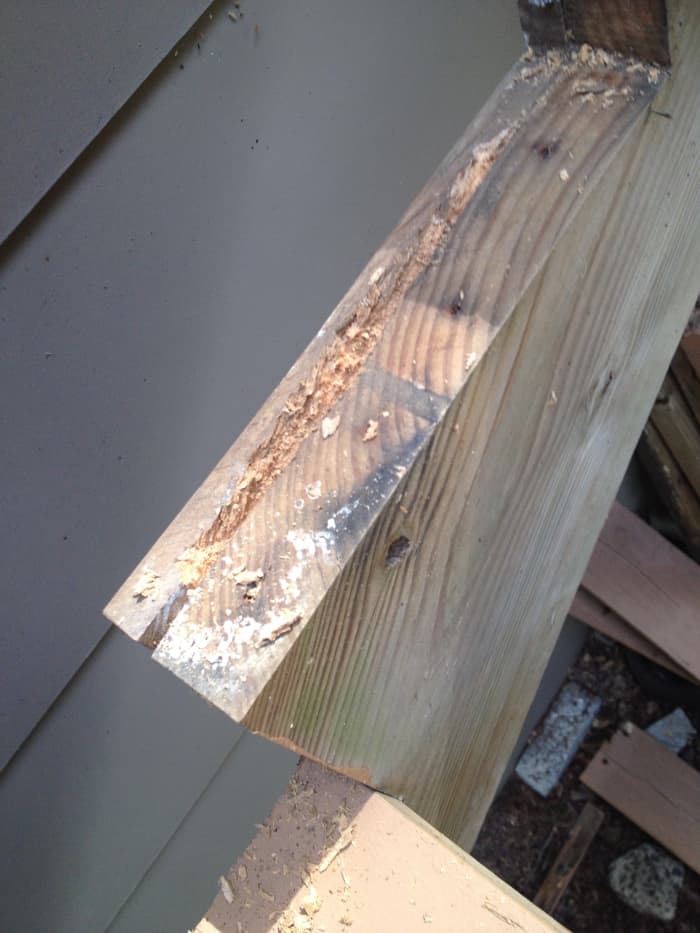
Still more rot with all the loose droppings removed with compressed or blown air.
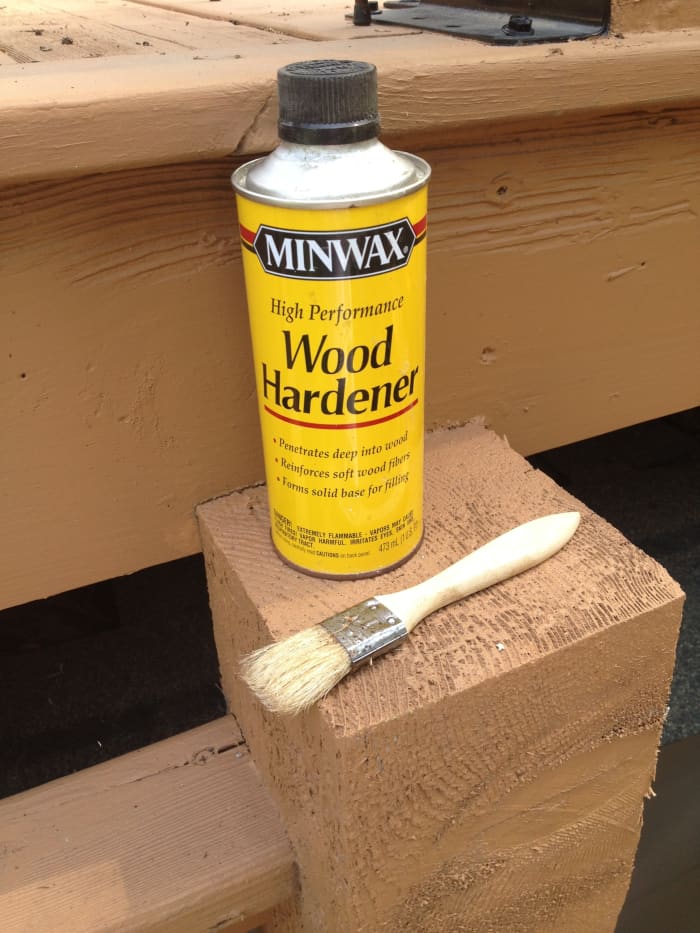
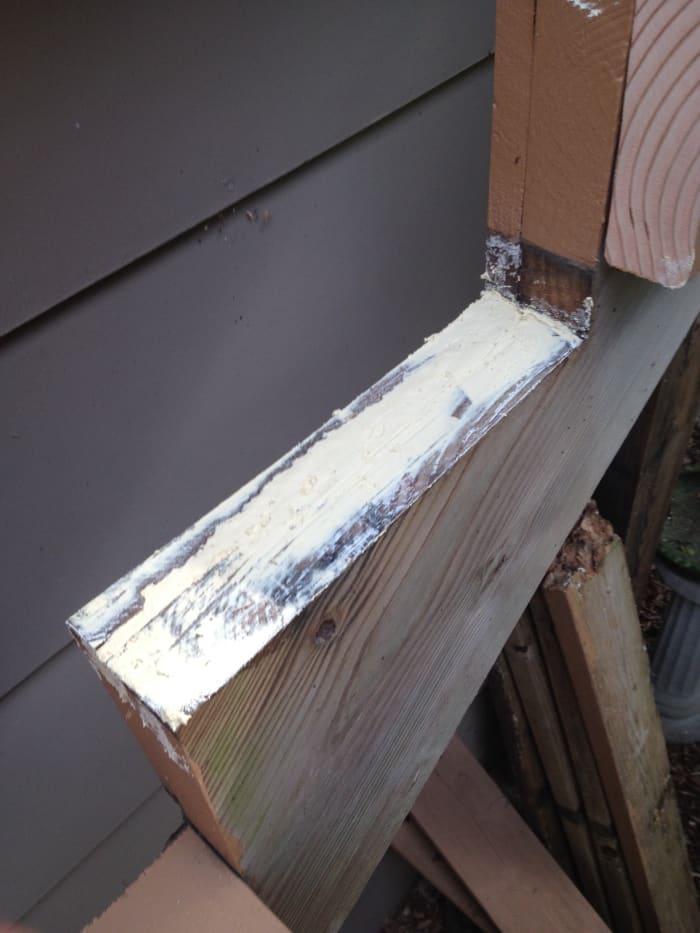
Wood hardener used to care for practiced wood exposed past cavity.
Ringlet to Go on
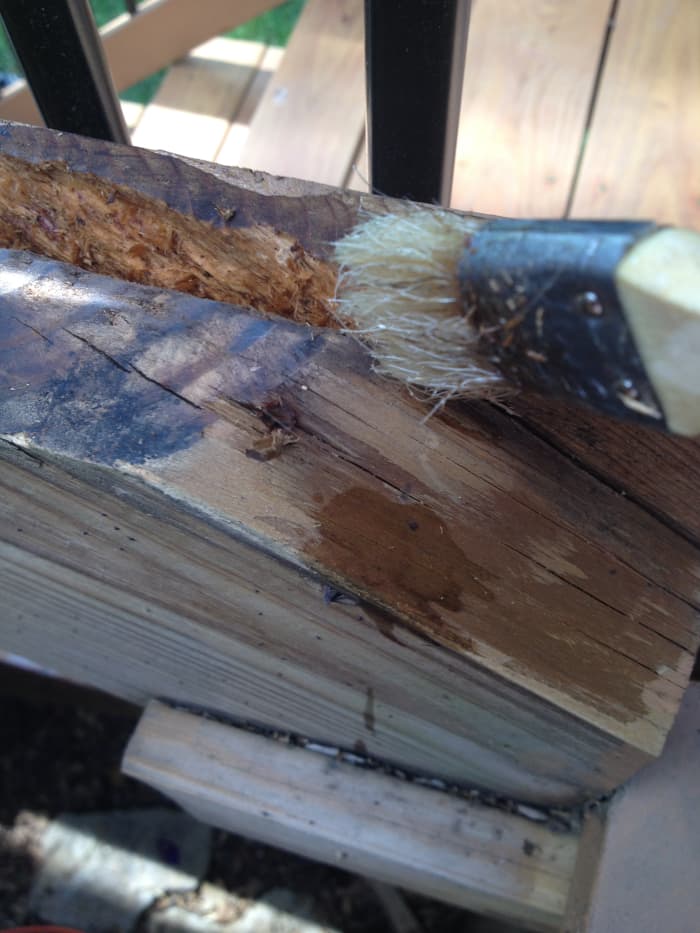
Applying the wood hardener.
Wood hardener later on drying for a few hours.
Repaired stringer and treated wood rot.
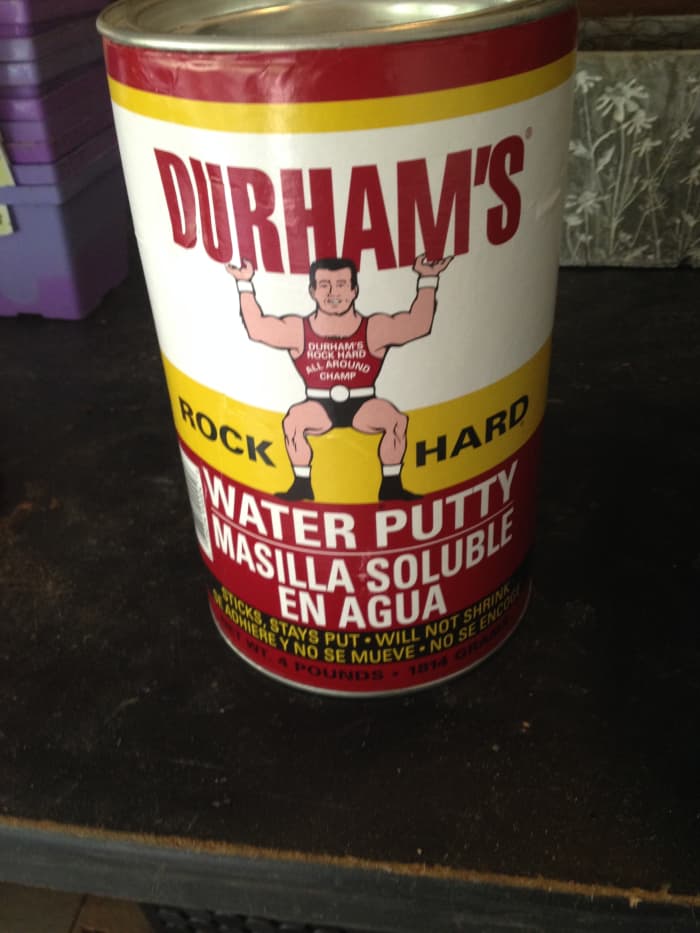
Forest filler chosen to fill voids. You can apply other products too; I've only had good luck with this as information technology drys quick and sands easily after curing, not to mention it cleans up easily with water.
Woods filler after drying and shaping.
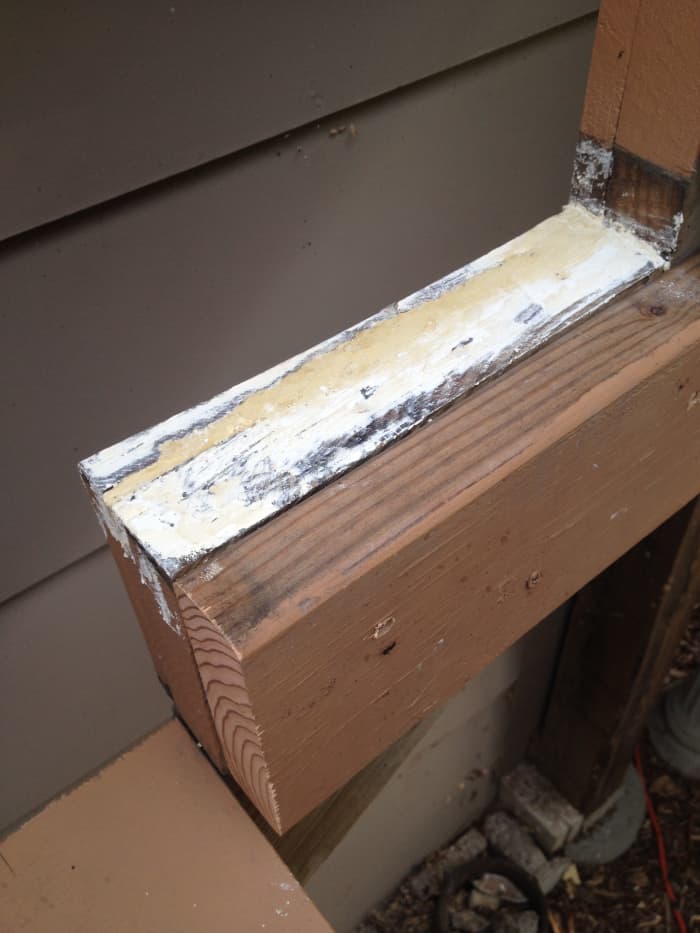
Another view of cured wood filler with stringer reinforcement attached.
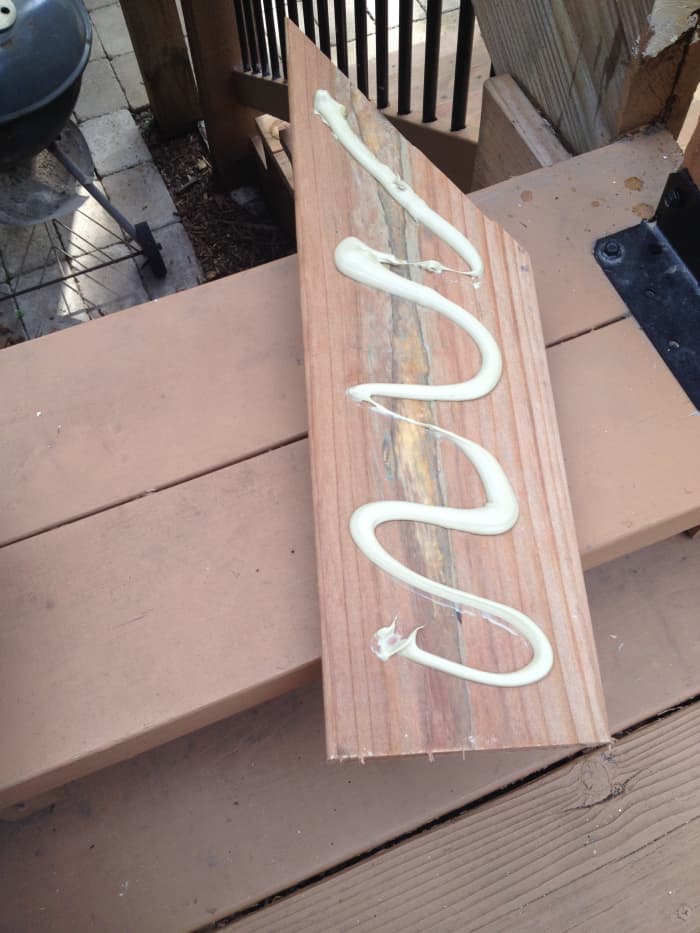
Stringer reinforcement with liquid nails equally a binder.
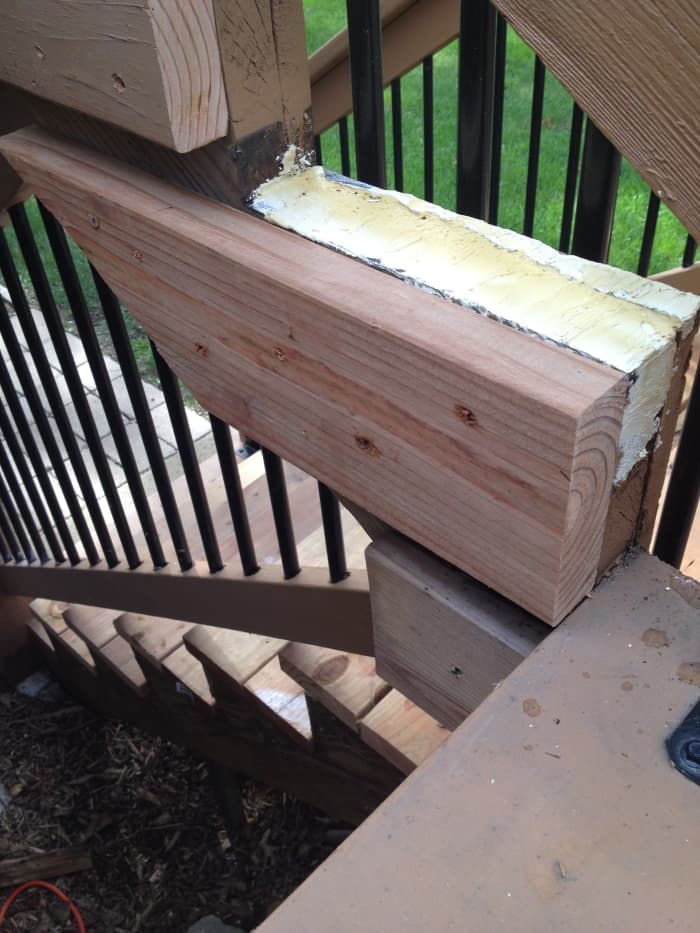
Stringer reinforcement in place with 3" deck screws used to adhere.

New treads solidly in place and prepare for use. No more dangerous steps!
- Replacement wood treads: Force per unit area treated 2 10 half-dozen 10 8 and ii x 6 x x as needed.
- Power miter or circular saw
- Tape mensurate
- three" deck screws (amount will vary)
- Power drill
- Liquid nails approved for exterior use
- Slow or appropriate wood removal tool; choices are many.
- Wood hardener with application brush
- Woods filler with application tool; I used a i" putty knife
- Sand paper and 3/four" chisel to shape forest filler
- Blower capable of removing all debris from crenel after rough removal; I used an air compressor with air nozzle attachment.
- PATIENCE as this project takes a off-white amount of time!
-
Practiced luck!
© 2022 Rob Jundt
Related Articles

Source: https://discover.hubpages.com/living/How-to-repair-wood-rot-on-your-deck-General-overview
Posted by: williamstheive.blogspot.com
0 Response to "How To Repair Wood Damage In Exterior Stair"
Post a Comment